All Categories
Featured
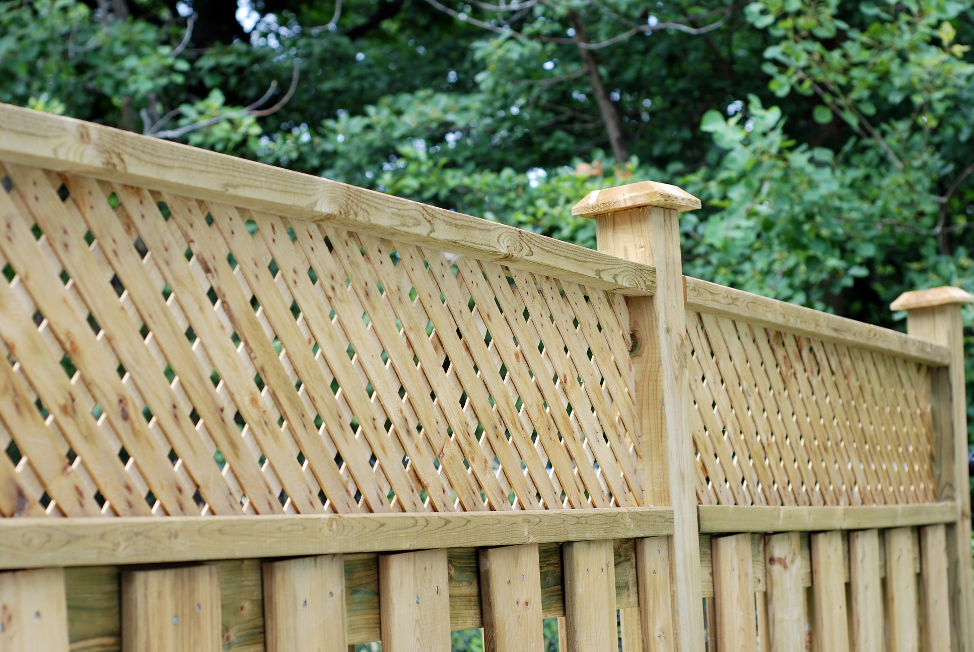
A leaning or damaged fencing post can be both a safety and an eyesore concern. Over time, weather condition problems, soil changes, or even the natural aging of products can trigger a fencing article to lean or damage.
![]()
Shovel. Message hole miner (optional for deeper holes) Level. Concrete mix (quick-setting is perfect) Crushed rock (for water drainage, optional) Sledgehammer or article puller (for persistent posts) A 2x4 support (if reinforcing the article) Security handwear covers and goggles. Having all these products prepared will certainly make the work easier and quicker.
Concrete: Among the most effective means to safeguard a post is by pouring concrete around the base. Mix quick-setting concrete according to the guidelines on the bag, then put it around the post, making certain the message stays straight and degree. You need to load the opening with the concrete mix, leaving regarding 2-3 inches of room at the top for a last layer of dirt. Let the concrete collection for a minimum of 1 day to guarantee the message is well fixed.
Crushed rock: If you prefer an easier, more flexible option, you can use gravel around the blog post for much better drainage and support. Fill the hole with crushed rock, making sure the blog post is straightened appropriately.
Action 1: Get rid of the old, broken message. Utilize a message puller or sledgehammer to loosen up the concrete and get rid of the message if the message is set in concrete. Step 2: Once the article is eliminated, dig a new opening if needed. The hole needs to be about 2-3 feet deep, relying on the dimension of your brand-new message and the type of soil you're collaborating with. Action 3: Place the brand-new article into the opening, ensuring that it is level and aligned with the remainder of the fence articles. Tip 4: Fill up the hole with concrete or gravel as defined earlier, ensuring that the new post is firmly anchored. 7. Include Assistance Braces (Optional) If you're concerned regarding the future stability of the article, you can add a support to provide additional support. Affix a 2x4 or comparable piece of timber to the message at a diagonal angle, safeguarding the various other end to a close-by fencing post or the ground. This will prevent any kind of future leaning and give the blog post much more architectural honesty while the concrete cures or crushed rock works out.
![]()
Verdict. Repairing a leaning or damaged fencing blog post doesn't have to be a complicated job. By adhering to these straightforward actions-- evaluating the damages, digging around the blog post, and strengthening it with concrete or crushed rock-- you can restore your fence blog post to its upright setting.
- Assess the Damage. If your fence post is leaning, it may just require to be realigned and strengthened. If the post is deteriorated, cracked, or broken, it may require changing.
- Collect Necessary Devices and Materials. To repair the article, you'll need a few basic devices and products:
Shovel. Message hole miner (optional for deeper holes) Level. Concrete mix (quick-setting is perfect) Crushed rock (for water drainage, optional) Sledgehammer or article puller (for persistent posts) A 2x4 support (if reinforcing the article) Security handwear covers and goggles. Having all these products prepared will certainly make the work easier and quicker.
- Dig Around the Base of the Message. To deal with the leaning article, you'll need to reveal the base of the message. Beginning by excavating around it utilizing a shovel. Develop a hole that is at least 12 inches large and 18-24 inches deep. The objective is to loosen up the dirt bordering the blog post so you can reposition or safeguard it appropriately. If the blog post is deeply ingrained in concrete, you might need to dig deeper or utilize a message puller to eliminate it.
- Straighten the Message. Once the base of the blog post is revealed, it's time to align it. Use a degree to ensure the article is upright, readjusting it as required. You might be able to simply draw it upright by hand if the post is leaning somewhat. Nevertheless, if it is significantly leaning or damaged, you may need additional assistance. You can utilize a 2x4 or an additional durable item of timber to support the article momentarily while you safeguard it.
- Strengthen the Message. As soon as the post is in the proper setting, you'll require to strengthen it to avoid it from leaning once more. You can do this in a number of methods:
Concrete: Among the most effective means to safeguard a post is by pouring concrete around the base. Mix quick-setting concrete according to the guidelines on the bag, then put it around the post, making certain the message stays straight and degree. You need to load the opening with the concrete mix, leaving regarding 2-3 inches of room at the top for a last layer of dirt. Let the concrete collection for a minimum of 1 day to guarantee the message is well fixed.
Crushed rock: If you prefer an easier, more flexible option, you can use gravel around the blog post for much better drainage and support. Fill the hole with crushed rock, making sure the blog post is straightened appropriately.
- Change a Damaged Blog Post (If Essential) If the article is severely rotted or broken, fixing it might not be possible. In this case, replacing the message is your best option. Here's how to replace a harmed fence blog post:
Action 1: Get rid of the old, broken message. Utilize a message puller or sledgehammer to loosen up the concrete and get rid of the message if the message is set in concrete. Step 2: Once the article is eliminated, dig a new opening if needed. The hole needs to be about 2-3 feet deep, relying on the dimension of your brand-new message and the type of soil you're collaborating with. Action 3: Place the brand-new article into the opening, ensuring that it is level and aligned with the remainder of the fence articles. Tip 4: Fill up the hole with concrete or gravel as defined earlier, ensuring that the new post is firmly anchored. 7. Include Assistance Braces (Optional) If you're concerned regarding the future stability of the article, you can add a support to provide additional support. Affix a 2x4 or comparable piece of timber to the message at a diagonal angle, safeguarding the various other end to a close-by fencing post or the ground. This will prevent any kind of future leaning and give the blog post much more architectural honesty while the concrete cures or crushed rock works out.
- Look For Future Stability. As soon as the post is fixed or changed, examine it periodically to make certain that it remains upright and secure. Examine the bordering dirt for disintegration or shifting, and resolve any kind of issues immediately to avoid more damages.
Verdict. Repairing a leaning or damaged fencing blog post doesn't have to be a complicated job. By adhering to these straightforward actions-- evaluating the damages, digging around the blog post, and strengthening it with concrete or crushed rock-- you can restore your fence blog post to its upright setting.
Latest Posts
Check Out the Best Auto Repair Coupons in Montclare, Chicago
Published May 24, 25
1 min read
Secure Your Financial Investment with Specialist Seamless Gutter Setup
Published May 20, 25
1 min read
How Chicago Drivers Trust Montclare Auto Repair for Trusted Service and Great Savings
Published May 20, 25
1 min read
More
Latest Posts
Check Out the Best Auto Repair Coupons in Montclare, Chicago
Published May 24, 25
1 min read
Secure Your Financial Investment with Specialist Seamless Gutter Setup
Published May 20, 25
1 min read
How Chicago Drivers Trust Montclare Auto Repair for Trusted Service and Great Savings
Published May 20, 25
1 min read